Build a Blog and Portfolio with React’s Gatsby and Netlify CMS
How to create a dynamic website with React using Gatsby framework and Netlify CMS
May 11, 2021
How many times have you thought of creating your own website that has a side blog with a little bit about you, and end up downloading a free WordPress theme that will leave you stuck with PHP?
Today, I will explain how you can create your dynamic website with the beloved React under the Gatsby framework, integrated with a free dashboard called Netlify CMS that’s fully customised with only .yml files.
Gatsby is a framework that enables developers to build fast, secure, and powerful websites using a React-based framework and innovative data layer that makes integrating different content, APIs, and services into one web experience incredibly simple.
You can find the source code for this example on GitHub in the d3vma/gatsme repository.
Integrate Netlify CMS with Github repository
Make sure you have gatsby-cli installed or use npx (which I will do here) to clone the starter repository from Gatsby official.
npx gatsby new gatsme https://github.com/gatsbyjs/gatsby-starter-blog
cd gatsme
Now given that you cloned the starter project and located yourself inside the correct path, let’s install some Netlify dependencies:
npm install --save netlify-cms-app gatsby-plugin-netlify-cmsPS: you might get an error if you’re using npm v7, try using the flag _--legacy-peer-deps_ to solve the issue for now.
Now open the project with your favourite editor, and create a config.yml file in the directory structure you see below:
├── static
│ ├── admin
│ │ ├── config.yml
And paste the following piece of code configuration inside for now (will be changed later).
backend:
  name: git-gateway
  branch: master

media_folder: static/img
public_folder: /img

collections:
  - name: "blog"
    label: "Blog"
    folder: "content/blog"
    create: true
    slug: "index"
    media_folder: ""
    public_folder: ""
    path: "{{title}}/index"
    editor:
      preview: false
    fields:
      - { label: "Title", name: "title", widget: "string" }
      - { label: "Publish Date", name: "date", widget: "datetime" }
      - { label: "Description", name: "description", widget: "string" }
      - { label: "Body", name: "body", widget: "markdown" }
Now head to gatsby-config.js and add the Netlify dependency we just installed, the same structure as in the file:
`gatsby-plugin-netlify-cms`,The next step is to link the project to a Github repository which we will connect later to Netlify CMS!
Push the changes to the newly created repository.
Now after having the repository with the changes mentioned above, let’s go to Netlify and link it together, assuming that you have an account already.
- Log in to Netlify, click on
New site from Gitand select your repository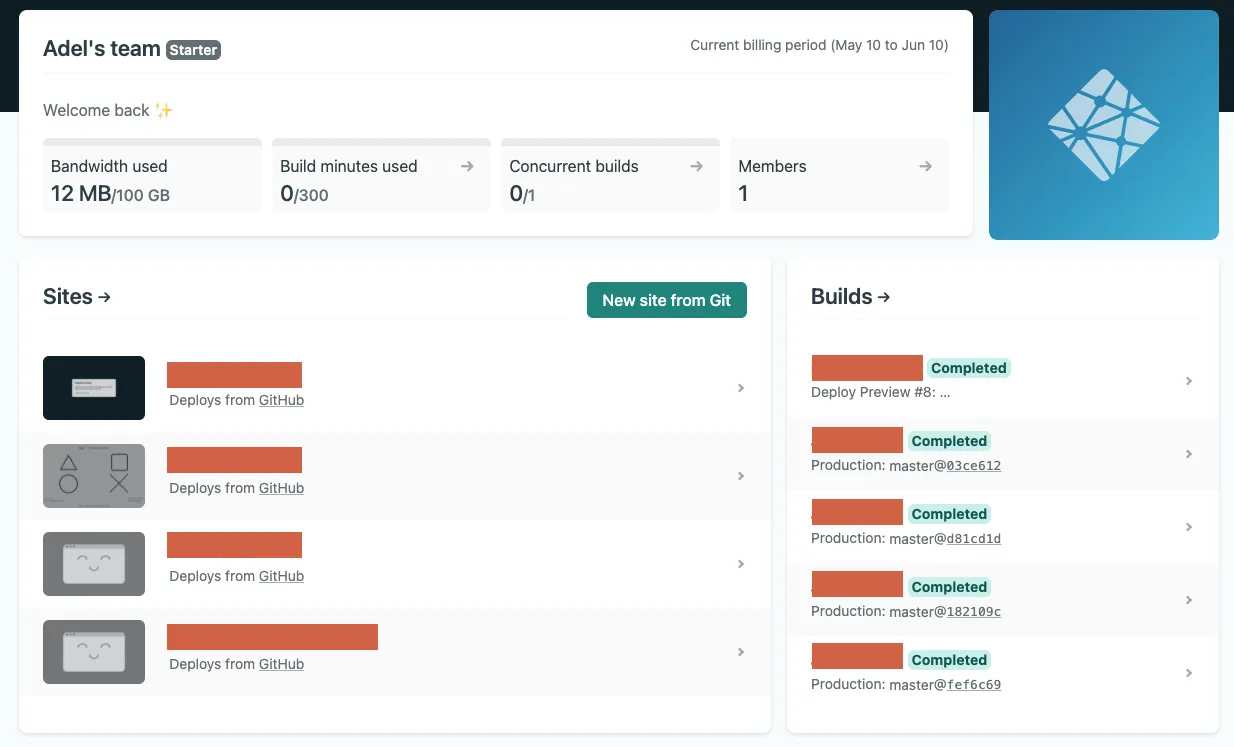
- Hit
deploybutton without change anything in the build configurations - Now go to
Site settingsand enable the identity to manage the authentication process.
PS: after enabling identity, registration will be open for anyone, please change that to_invite only_after creating your first admin account. - While you’re still in
Site settings, scroll all the way down toServicesand clickEnable Git Gatewayto connect to Github API so you can push commits with the changes from the CMS.
Now go back to the terminal and start your local project by running the following command:
npm run startLeave it to compile, and head to localhost:8000 to see!
Now go to localhost:8000/admin and set the site’s URL from the one we created in Netlify and Sign Up your admin account.
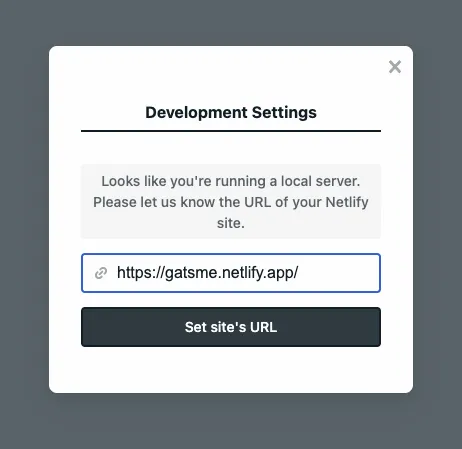
After receiving the confirmation email, you can now log in whether with local or with Netlify instance, tada!
Include react-bootstrap
Run the following command in your terminal to add the dependency:
npm i --save bootstrap react-bootstrapNow open gatsby-browser.js file and add the following line:
// react bootstrap
import "bootstrap/dist/css/bootstrap.min.css";
Let’s try it out and explore the project’s structure!
├── src
│ ├── components
│ ├── images
│ ├── pages
│ │ ├── 404.js
│ │ ├── index.js
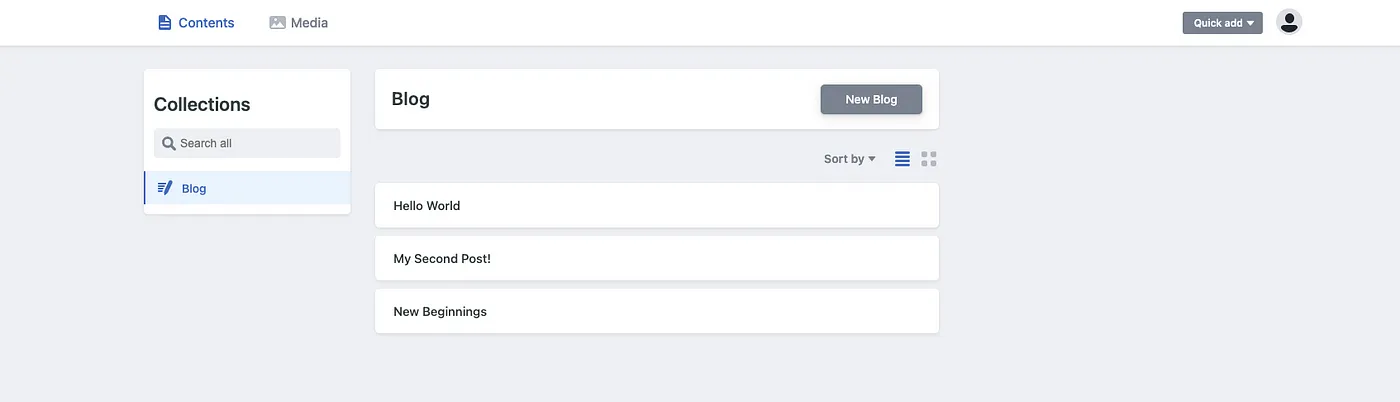
│ ├── templatesAdd blog posts with cover/featured image
Now given that we have the project ready and a CSS framework included, and because the official default configs don’t show how to have a featured image in your listing page, let’s figure out how can we do that!
Go to config.yml file and add the following piece of code under collections:
collections:
  - name: "blog"
    label: "Blog"
    folder: "content/blog"
    create: true
    slug: "index"
    media_folder: ""
    public_folder: ""
    path: "{{title}}/index"
    editor:
      preview: false
    fields:
      - { label: "Title", name: "title", widget: "string" }
      - { label: "Publish Date", name: "date", widget: "datetime" }
      - { label: "Description", name: "description", widget: "string" }
      - { label: "Body", name: "body", widget: "markdown" }
      - {
          label: "Cover Image",
          name: "cover_image",
          widget: "image",
          required: false,
        }
If you notice, we’ve added one more input cover image property to show that you can have different types of widgets can be found here.
Go to your terminal and run the following command line:
npm i --save gatsby-imageNow let’s fetch that image from GraphQL and display it in our page file.
Open index.js file and import the following at the beginning of the file:
import Img from "gatsby-image";Now scroll down to the end of the file, and replace the pageQuery with the following:
export const pageQuery = graphql`
  query {
    site {
      siteMetadata {
        title
      }
    }
    allMarkdownRemark(sort: { fields: [frontmatter___date], order: DESC }) {
      nodes {
        excerpt
        fields {
          slug
        }
        frontmatter {
          date(formatString: "MMMM DD, YYYY")
          title
          description
          cover_image {
            childImageSharp {
              fluid(maxWidth: 900) {
                ...GatsbyImageSharpFluid
              }
            }
          }
        }
      }
    }
  }
`
Given that we have the query and imported the needed plugin, we can simply include our cover/featured image in the layout by the following:
<Img fluid={post.frontmatter.cover_image?.childImageSharp.fluid} />Set up portfolio panel and save to JSON
Now after having a convenient blog for yourself, it’s time to show off some skills for that portfolio, add experiences and what you’ve rocked so far in your career! These data will be saved in a JSON file, for peace of mind.
Now open config.yml file, and let’s add a new collection like the following:
- name: content
  label: Content
  files:
    - label: Resume
      name: resume
      file: "content/resume.json"
      fields:
        - {
            label: "Full Name",
            name: fullname,
            widget: string,
            required: false,
          }
        - { label: Role, name: role, widget: string, required: false }
        - { label: Summary, name: summary, widget: text, required: false }
        - label: Experience
          name: experience
          widget: list
          required: false
          fields:
            - { label: Role, name: role, widget: string }
            - { label: Company, name: company, widget: string }
            - { label: Description, name: description, widget: markdown }
            - {
                label: "Start date",
                name: start,
                widget: date,
                format: "MM/YYYY",
              }
            - {
                label: "End date",
                name: end,
                widget: date,
                required: false,
                format: "MM/YYYY",
              }
        - label: Skills
          name: skills
          widget: list
          required: false
          fields:
            - { label: Name, name: name, widget: string }
So what have we done here? Basically, we just created a new collection same as the one we just did for the blog, but this one has a list of files. For now, it’s only 1 file which is resume, and saved as resume.json inside /content
Experience and skills are list widget type, and each has its own fields.
Now let’s create a new page called portfolio.js under src/pages directory and add the following code:
The URL is accessible via localhost:8000/portfolio dynamically and so on upon creating new files under pages directory.
You have now a lightweight portfolio that’s 100% under your control and no need to worry about dynamic data anymore!
Thanks
Thanks to the Gatsby and Netlify CMS teams for building such cool and innovative products!
Thank you for reading this — repost if you think it’s useful.
Have a look at my website, built exactly as this tutorial explained!
More content at plainenglish.io